About
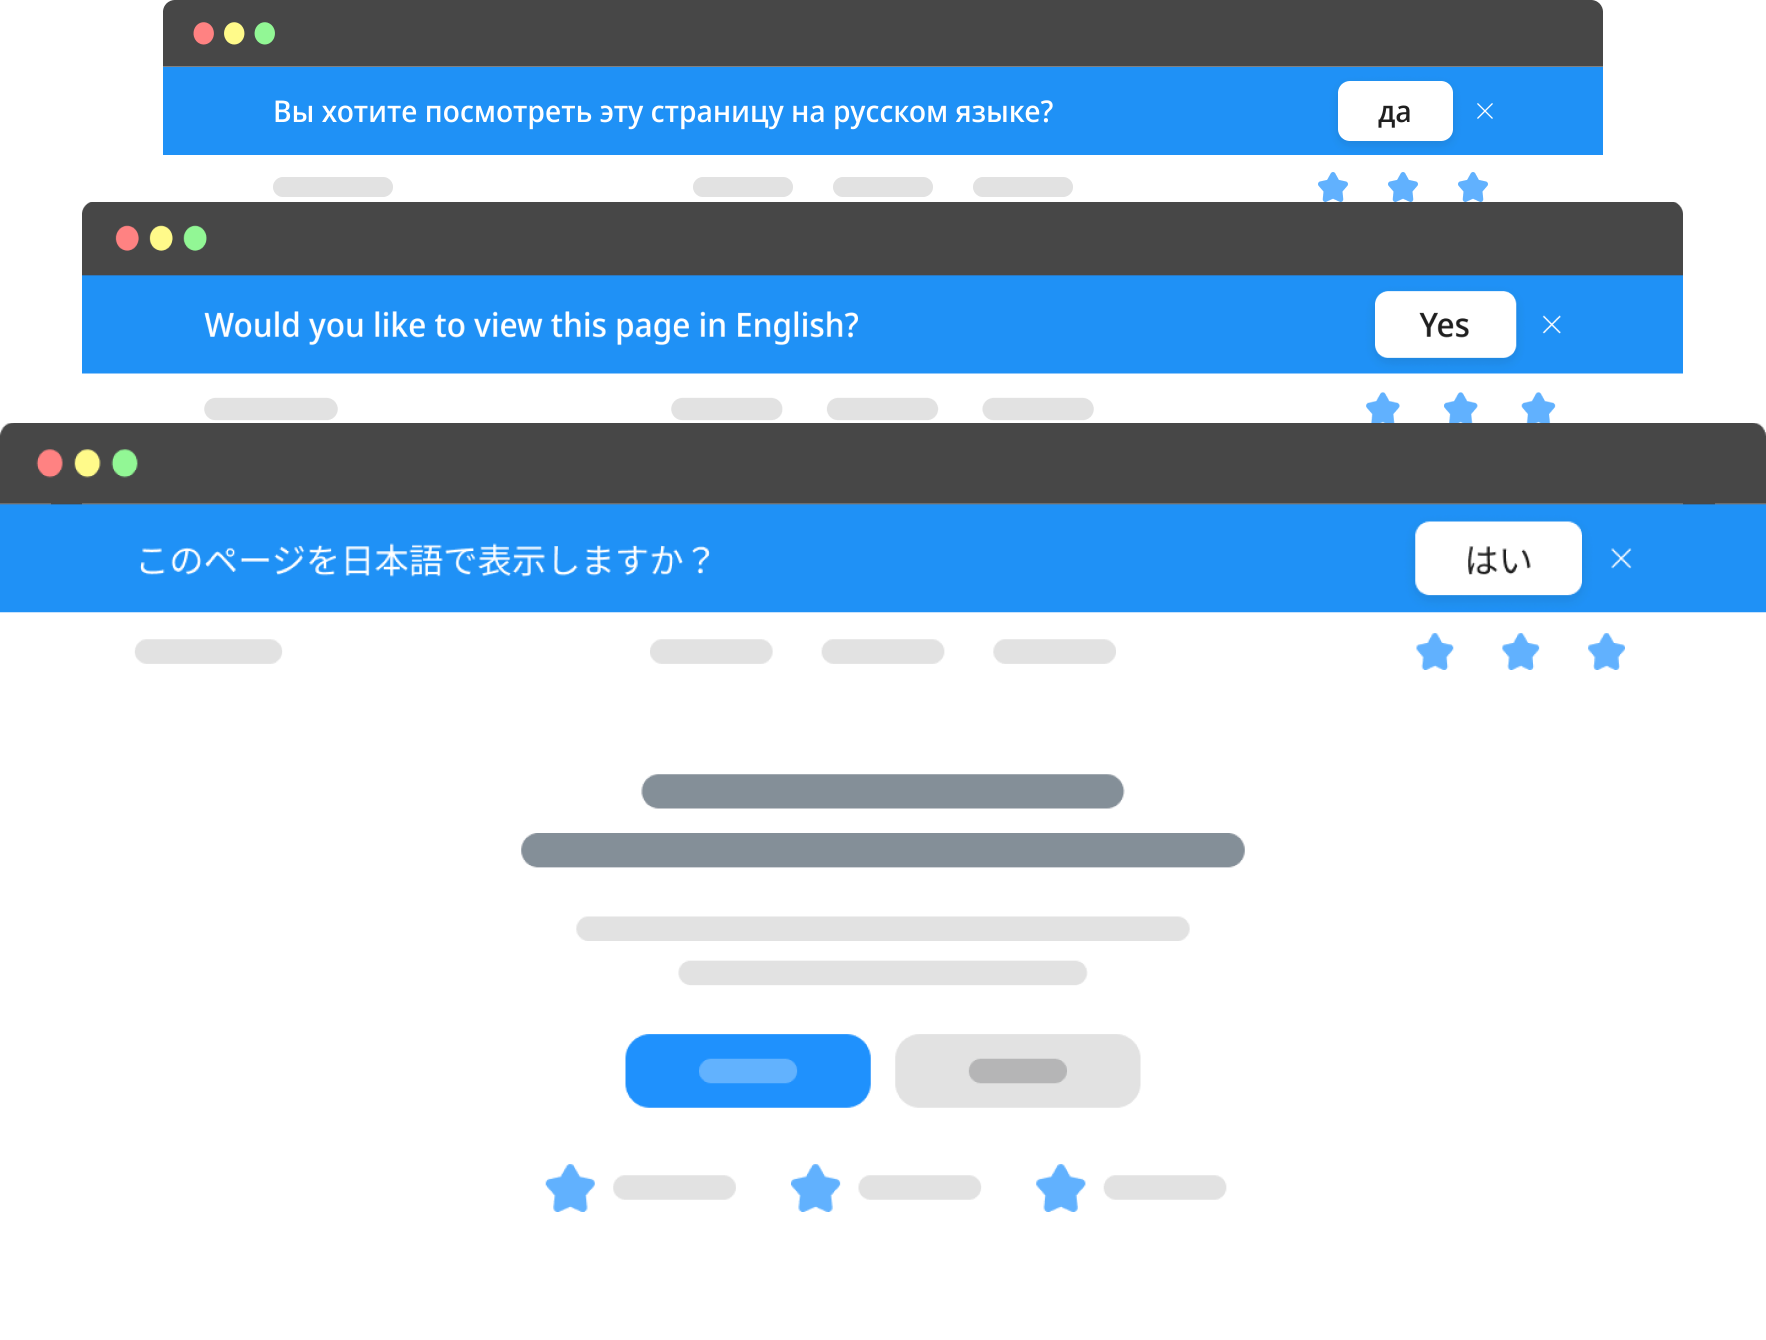
This is a clonable project for a custom language switch popup, which detects visitor's browser language and suggests the most suitable locale for him to view the a website.
You can clone the project, learn and use this method to setup the same functionality on your website.
Features
No limit on a number of supported locales
No limit on which locales are supported
No restrictions on subdirectory names
Author
This project is developed by Igor Voroshilov in affiliation with Supasaito - a Japan, Tokyo based Webflow partner company.
Video
Script
Copy the language switch banner script and paste into the <head> of your page.
<!-- [Language banner by Supasaito] -->
<script async src="https://cdn.jsdelivr.net/gh/supasaito/lang-banner/lang-banner.js"></script>Docs
In this documentation we will go through the steps necessary to setup language switch banners on your website by doing manual settings without using a clonable project.
HTML Structure
Image
Description
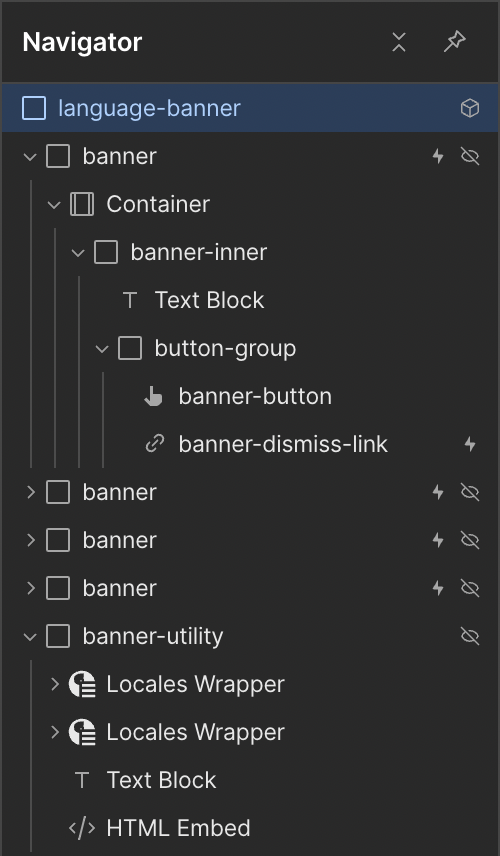
This is a general structure of language switch banners component, which is implemented in this project.
Inside of a parent element, the component root having a class "language-banner" there are all "banner" elements for each locale you have on your website.
Each banner has elements inside to build its layout and content as well as 2 buttons - "banner-button" and "banner-dismiss-link".
Below the banners there is a hidden div block with a class "banner-utility", which includes locales lists, a text block for a fallback locale and a script. Those elements are only needed for functionality and can hidden.
More about the elements mentioned above you will find further in this documentation.
It is not neccessary to follow this structure, but you can use it as a starting point.
Banner
Attribute
Name
lang-banner
Value
{ISO code}
Description
Add your banners elements for each locale your website has enabled and add attribute to each banner.
ISO code is provided by Webflow in the Localization settings panel. Make sure to set a right code as a value for each corresponding banner.

Attribute will look like lang-banner="en" in Webflow settings.
Button
Attribute
Name
lang-button
Value
{ISO code}
Description
Inside of the each banner put a button, which will lead to suggested locale and add an attribute to each button.
ISO code should be the same as the button's parent banner's code. If you have a banner for Japanese language with an attribute lang-banner="ja", then the button inside of this banner should have an attribute lang-button="ja".
Dismiss buttons
Attribute
Name
lang-banner-role
Value
dismiss
Description
Add this attribute to a dismiss button element. You can have multiple dismiss buttons on the same page.
Dismiss button should hide your banner. Script works in the way that clicking dismiss buttons writes information to session storage preventing the dismissed banner to be displayed while user is browsing your website within the same session.
Current locale
Attribute
Name
lang-banner-role
Value
current-locale
Description
Below banners add a Locales List element.
This attribute should be added to a link inside of locales list.

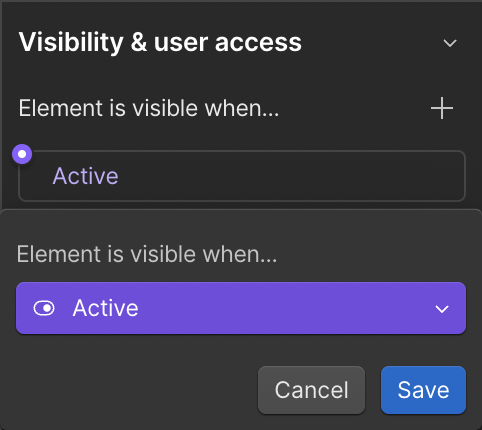
In the settings of the Link make sure to set Visibility to "Active". This way we only display one locale in the list, which is a current one.
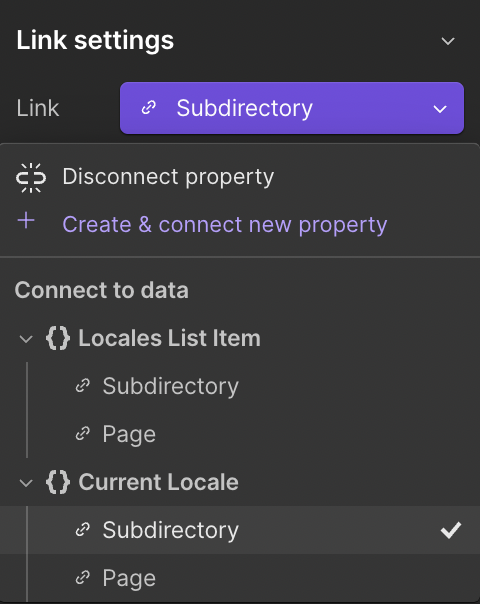
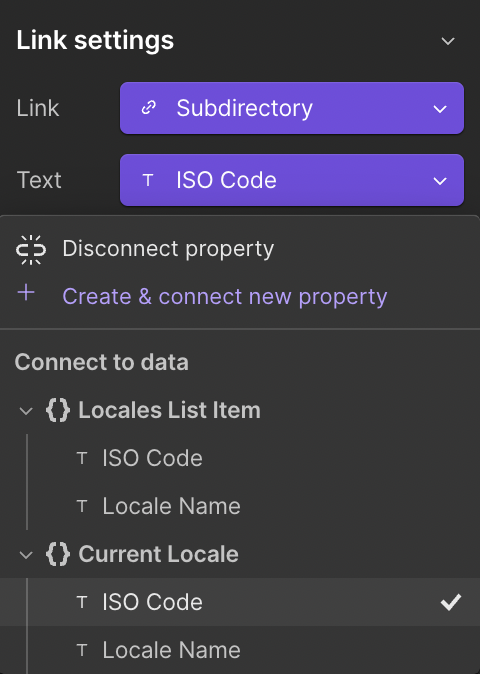
Set Link's "Link" setting to Current Locale > Subdirectory.
Set Link's "Text" setting to Current Locale > ISO Code.
Existing locale
Attribute
Name
lang-banner-role
Value
existing-locale
Description
Add one more locale list below the previous one. This list will contain all locales available at the website. Set an attribute to the Link element in the Locales List.

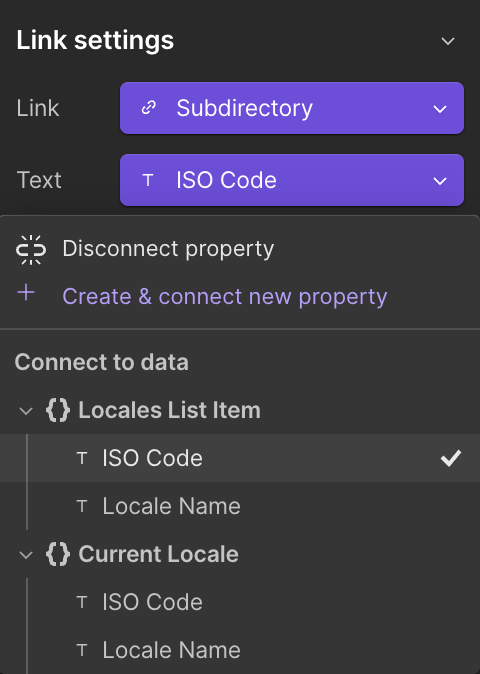
In the Link's settings make sure to set "Link" to Locales List Item > Subdirectory.

Set Link's "Text" to Locales List Item > ISO Code.
Fall back locale
Attribute
Name
lang-banner-role
Value
fall-back-locale
Description
Under the Locales Lists place a text block, type inside your Fall back Locale's ISO code (ex: "en") and add an attribute.

Fall back locale is a locale, which will be suggested to websites visitor in case the website has no locale mathcing his browser language. Usually Fall back locale is English.
Component (optional)
You can create a component for your banners and utility elements (locale lists, fallback locale text block and script).